
Screen printing is a popular and economical way to customize hats and other apparel items with designs or logos. With the right materials and techniques, you can create high-quality, professional-looking prints that are durable and long-lasting. It’s important to know how to screen print hats the right way.
Whether you’re starting a screen printing business or just want to print hats for your friends or family, this guide will walk you through the process of screen printing hats from start to finish.
Hat Screen Printing
Screen printing is a versatile printing method that can be used to print on a variety of materials, including t-shirts, bags, and hats. It’s a popular choice for customizing apparel because it’s cost-effective, fast, and produces high-quality prints that are long-lasting and vibrant.
This guide will teach you how to screen print hats and give you a better understanding of the materials and techniques involved.
Materials for Screen Printing Hats
Before you start screen printing, you’ll need to gather the right materials. Here’s a list of the most common materials used in screen printing hats:
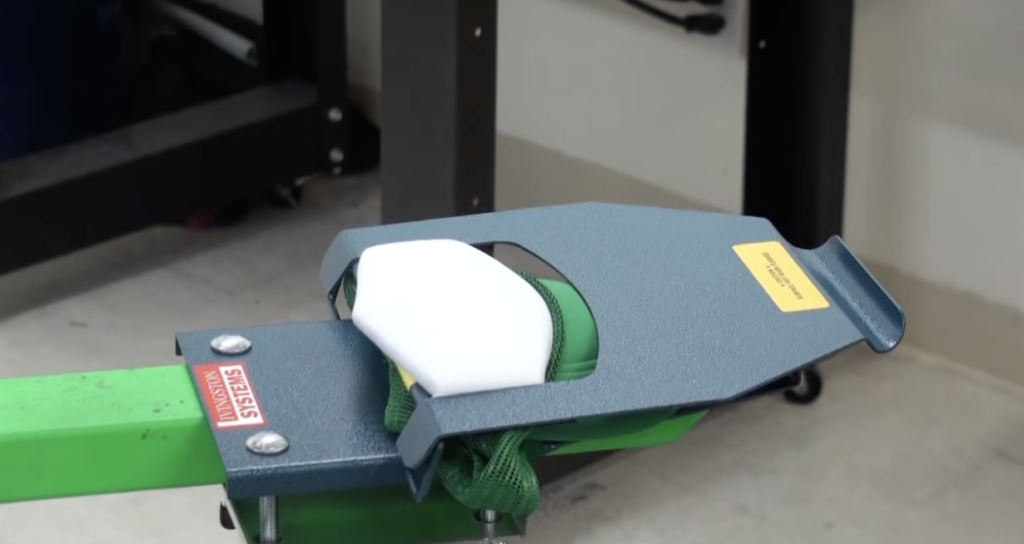
- Screen printing press: This is the machine that holds the screens and squeegees in place and helps you align the design and print accurately.
- Screens: These are the frames that hold the stencil of your design in place. They come in different mesh counts, with higher counts producing finer details in your design.
- Stencils: These are the film positives or paper positives that you use to create the design you want to print.
- Ink: There are many different types of ink you can use for screen printing, including plastisol, water-based, and discharge. Choose an ink that’s appropriate for the type of fabric you’ll be printing on.
- Squeegees: These are the tools that you use to spread the ink through the stencil and onto the hat.
- Hat: You’ll need a hat or several hats to print on. Choose a hat that’s made of a material that’s compatible with your chosen ink.
How to Screen Print Hats: Techniques
Once you have all of your materials, you can start the screen printing process. Here are the steps you’ll need to follow:
- Prepare the stencil: The first step is to create a stencil of your design. You’ll need to transfer the design onto a film positive or paper positive and attach it to the screen.
- Align the screen: Place the screen on the screen printing press and align it so that the stencil is centered over the hat. Make sure the screen is securely in place.
- Load the ink: Next, load the ink into the screen. You’ll need to be careful not to overload the stencil. This can cause the ink to seep through the mesh and produce a blurry print.
- Spread the ink: Once the ink is loaded, use the squeegee to spread it through the stencil and onto the hat. Make sure to apply even pressure and to keep the squeegee moving in a straight line. This will to avoid any smudging or misalignment.
- Dry the ink: After you’ve printed the design, allow the ink to dry completely before removing the hat from the screen printing press. Use a heat press or other drying method to ensure that the ink is fully cured.
Screen printing hats is a fun and rewarding project that can be done with the right materials and techniques. With a little patience and practice, you’ll be able to create high-quality, professional-looking prints that are both stylish and durable.
Whether you’re starting a screen printing business or just want to print hats for your friends and family, the process is simple and accessible to anyone with an interest in printing and design.
Screen printing is an excellent way to customize hats and make them unique. It’s a great process whether you have a personal brand or are starting a hat business. By following these steps and using the right materials, you can produce high quality hat prints. So, grab your materials, get creative, and start screen printing your hats today!