Learning how to design a hat logo can be a fun and creative process, but it also requires careful planning. The logo will be a crucial element of your brand’s visual identity, so it is important to take the time to create a design that represents your company or organization in the best possible light.
Know the 5 key steps involved in designing a hat logo, including brainstorming ideas, sketching out concepts, and refining the final design.

1. Brainstorming and Research for Your Hat Logo
The first step in designing a hat logo is to brainstorm ideas and do some research. This can include looking at logos of other companies or organizations in your industry, as well as researching design trends and styles that are currently popular. If you are starting a new hat business, this will be a crucial step in getting off the ground.
Get a clear understanding of what your target audience is looking for in a logo and consider the message you want your logo to convey. The goal of brainstorming and research is to gather inspiration and insights that can be used to inform the design process.
This may also involve looking at other brands in the industry, researching color schemes, investigating typography, and looking into shapes that are currently popular. Additionally, it’s important to consider how the logo will look when it is embroidered on the hat, as well as when it is used in digital and print materials.
2. Hat Logo Sketching Concepts
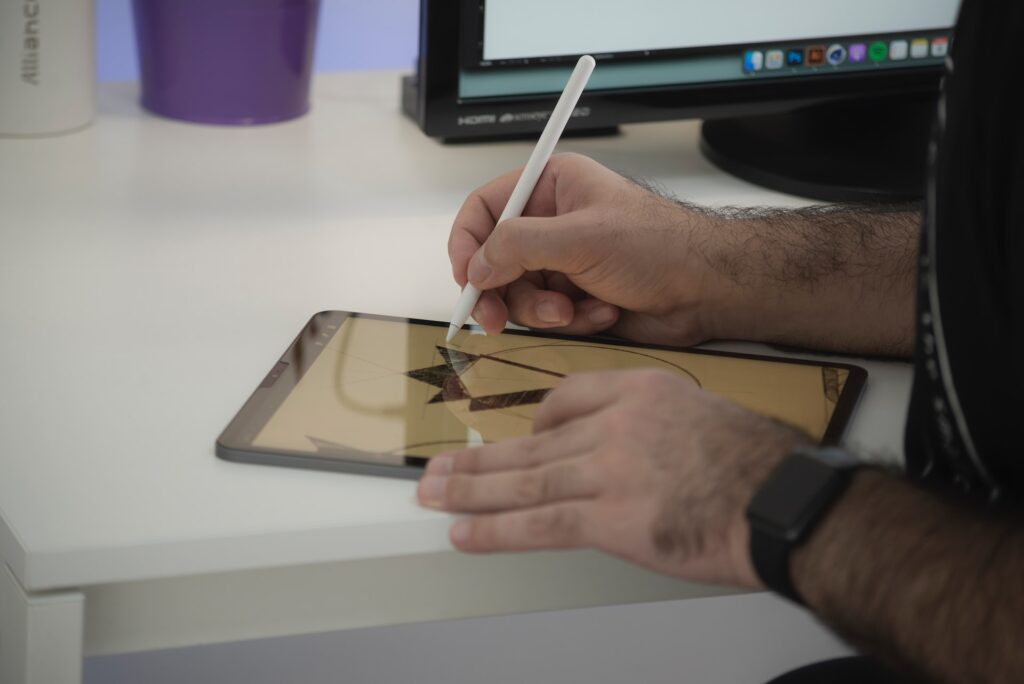
Once you have a good idea of the direction you want to take your logo in, it’s time to start sketching out concepts. This can be done by hand or using digital tools like Adobe Illustrator or Sketch.
Sketching is an important step in the design process as it allows you to explore different ideas and concepts. It’s important to keep in mind the various contexts in which the logo will be used, including on the hat itself, as well as on business cards, websites, and other marketing materials.
When sketching, it’s essential to consider how the logo will look when it is embroidered on the hat and how it will be legible at a smaller scale. It’s also important to consider the typography and color scheme of the logo at this stage.

3. Refining the Hat Logo Design
After you’ve narrowed down your concepts to a few favorites, it’s time to start refining the design. This can include adjusting the colors, shapes, and typography to create a cohesive and balanced look.
It’s also important to consider the scalability of the logo and how it will look when it’s printed on a small hat or embroidered on a larger item like a hoodie. The refinement stage is where the design starts to take shape and become more polished.
This is the stage where you want to make sure that the logo is legible and easy to recognize. Additionally, it’s important to consider how the logo will look when it is embroidered on the hat, as well as when it is used in digital and print materials.
4. Choosing the Right Hat Logo Color
The color of your logo is an important consideration, as it can affect how your brand is perceived. Different colors evoke different emotions and associations, so it’s important to choose a color that aligns with your brand’s message and values.
For example, a green logo might be appropriate for an eco-friendly brand, while a black and white logo might be more appropriate for a formal or professional brand. It’s important to consider how the color will look when the logo is embroidered on the hat, as well as when it is used in digital and print materials.
Consider the color scheme of the hat and how the logo will look in contrast to the hat’s color.
5. Finalizing the Design
Once you’ve refined and finalized your logo design, it’s time to present it to your team or client for feedback. This is a great opportunity to get a fresh perspective and make any final adjustments before the logo is used on your products and in your marketing materials.
It’s important to ensure that the final design is high-resolution and suitable for use in a variety of contexts, including on the web and in print. Additionally, make sure that the final design is suitable for embroidery on the hat, ensuring that the logo is legible and easy to recognize.
After receiving feedback, make any final tweaks to the design to ensure it meets all requirements and is ready for use. There are many ways to place your logo on a hat, we recommend looking into hat sublimation. Once the logo has been finalized, it’s important to keep copies of the design in various file formats, such as PNG, JPEG, and PDF, for use in different contexts.
Embrace the Process
Designing a hat logo is a process that requires careful planning, creativity, and attention to detail. By following the steps outlined in this blog post, including brainstorming ideas, sketching concepts, refining the design, and finalizing the design, you can create a logo that represents your brand in the best possible light. If you do mess up in the process, look into how to remove a hat logo.
Remember to consider the context of the logo, the message it will convey, and the target audience, it will help you create an effective logo that will be successful in the market. With a great logo, your brand will be able to stand out and make a lasting impression on customers.
It’s also important to ensure that the final design is suitable for embroidery on the hat, ensuring that the logo is legible and easy to recognize. This will make sure that your brand’s hat logo will be able to stand out and make a lasting impression on customers.
